

Adjustment Instructions : W41M-B2
Waterson hinges are easily adjustable and re-adjustable simply with two allen wrenches in just minutes. Our instructions include two parts: How To Adjust and Adjustment Process. Follow our procedure to get the optimal closing experience.

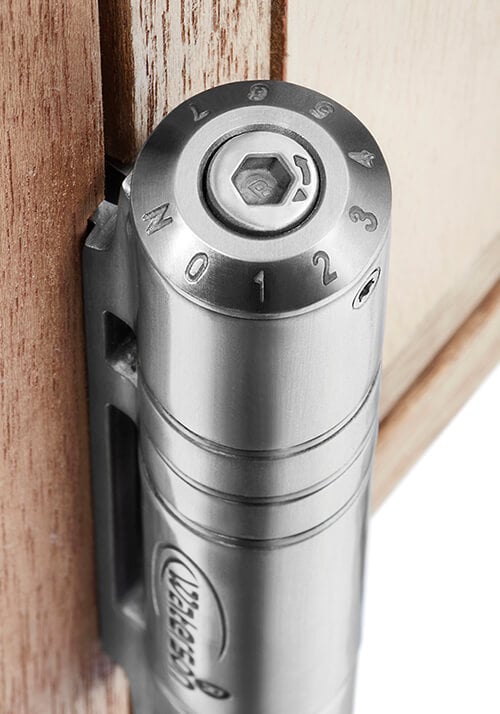
Hinge SA – top end
Usually, numerical setting should be 3 or 4.
Hinge HS – bottom end
Usually, numerical setting should be 3 or 4.
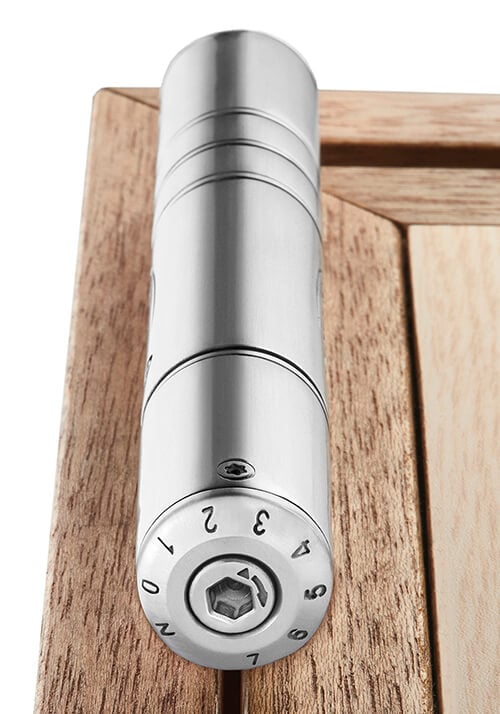
Hinge SA – bottom end
The bottom end setting should be like this.
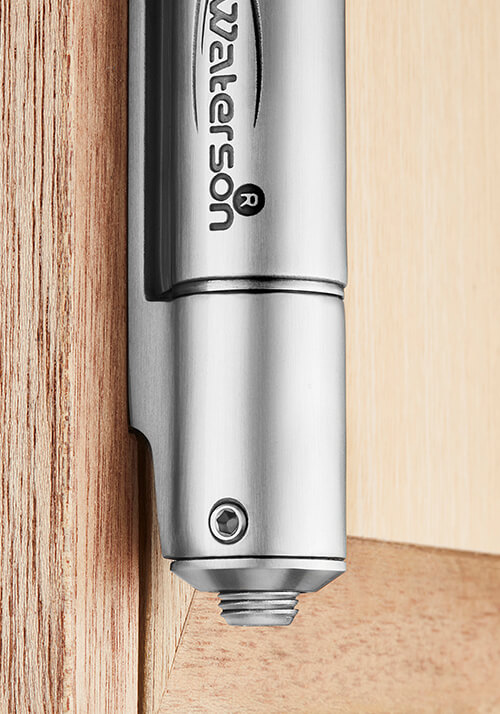
** Remember to tighten side set screw after setting.
Hinge HS – top end
1. Release side set screw
2. Use 5mm, insert top cavity, turn to full (+)
3. Retighten side set screw
4. Use 3mm, insert top cavity, turn ¾-1 circle to ( – )
Hinge SA – top end
Usually, numerical setting should be 3 or 4.
Hinge HS – bottom end
Usually, numerical setting should be 3 or 4.
Hinge SA – bottom end
The bottom end setting should be like this.
** Remember to tighten side set screw after setting.
Hinge HS – top end
1. Release side set screw
2. Use 5mm, insert top cavity, turn to full (+)
3. Retighten side set screw
4. Use 3mm, insert top cavity, turn ¾-1 circle to ( – )