

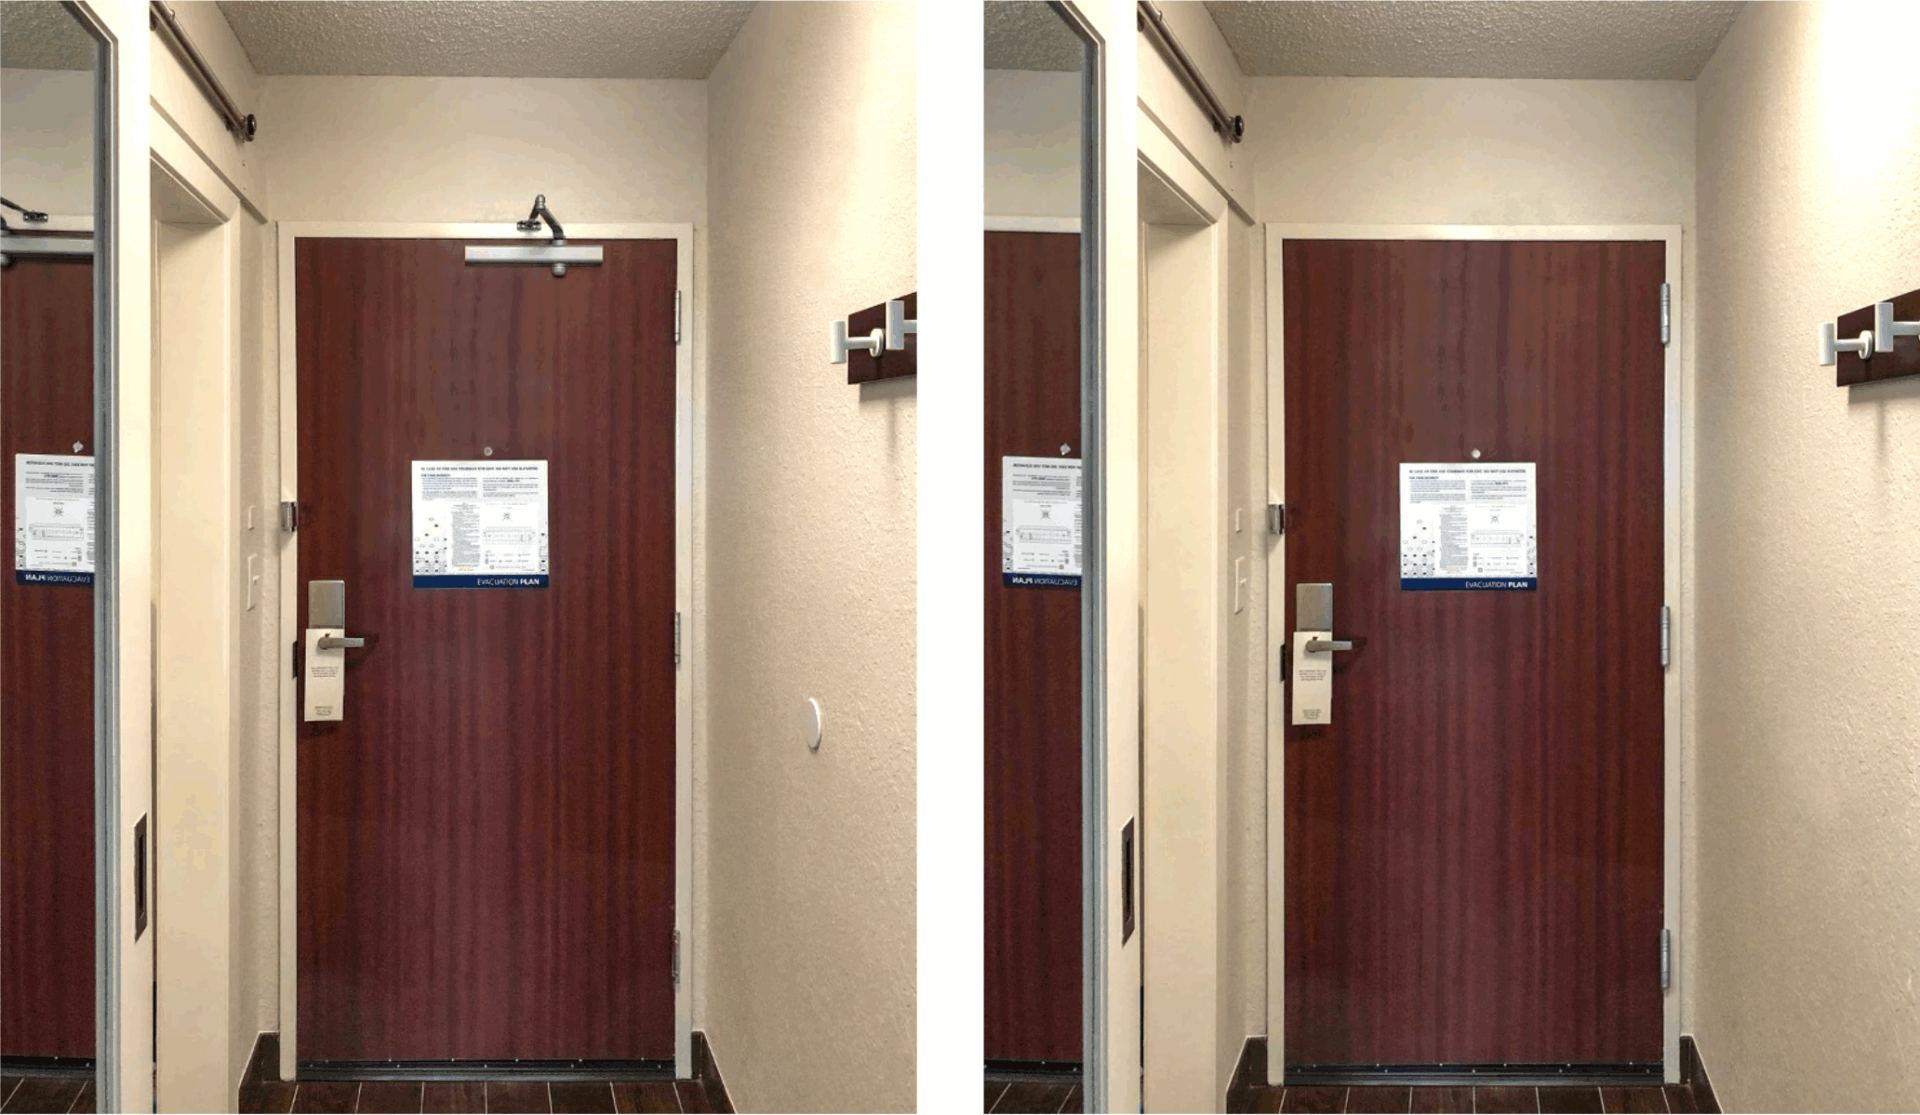
Most door closers are easy to spot. They sit on top of the door frame, with an arm that swings out every time someone pushes through. You can see the adjustment screws, read the labels, and fix a slam in about three minutes with a flathead screwdriver. A concealed door closer is a different story.
So, why is adjusting a concealed door closer so much harder than a standard overhead unit? And once you understand that, what is the right way to actually fix it?
What Is a Concealed Door Closer?
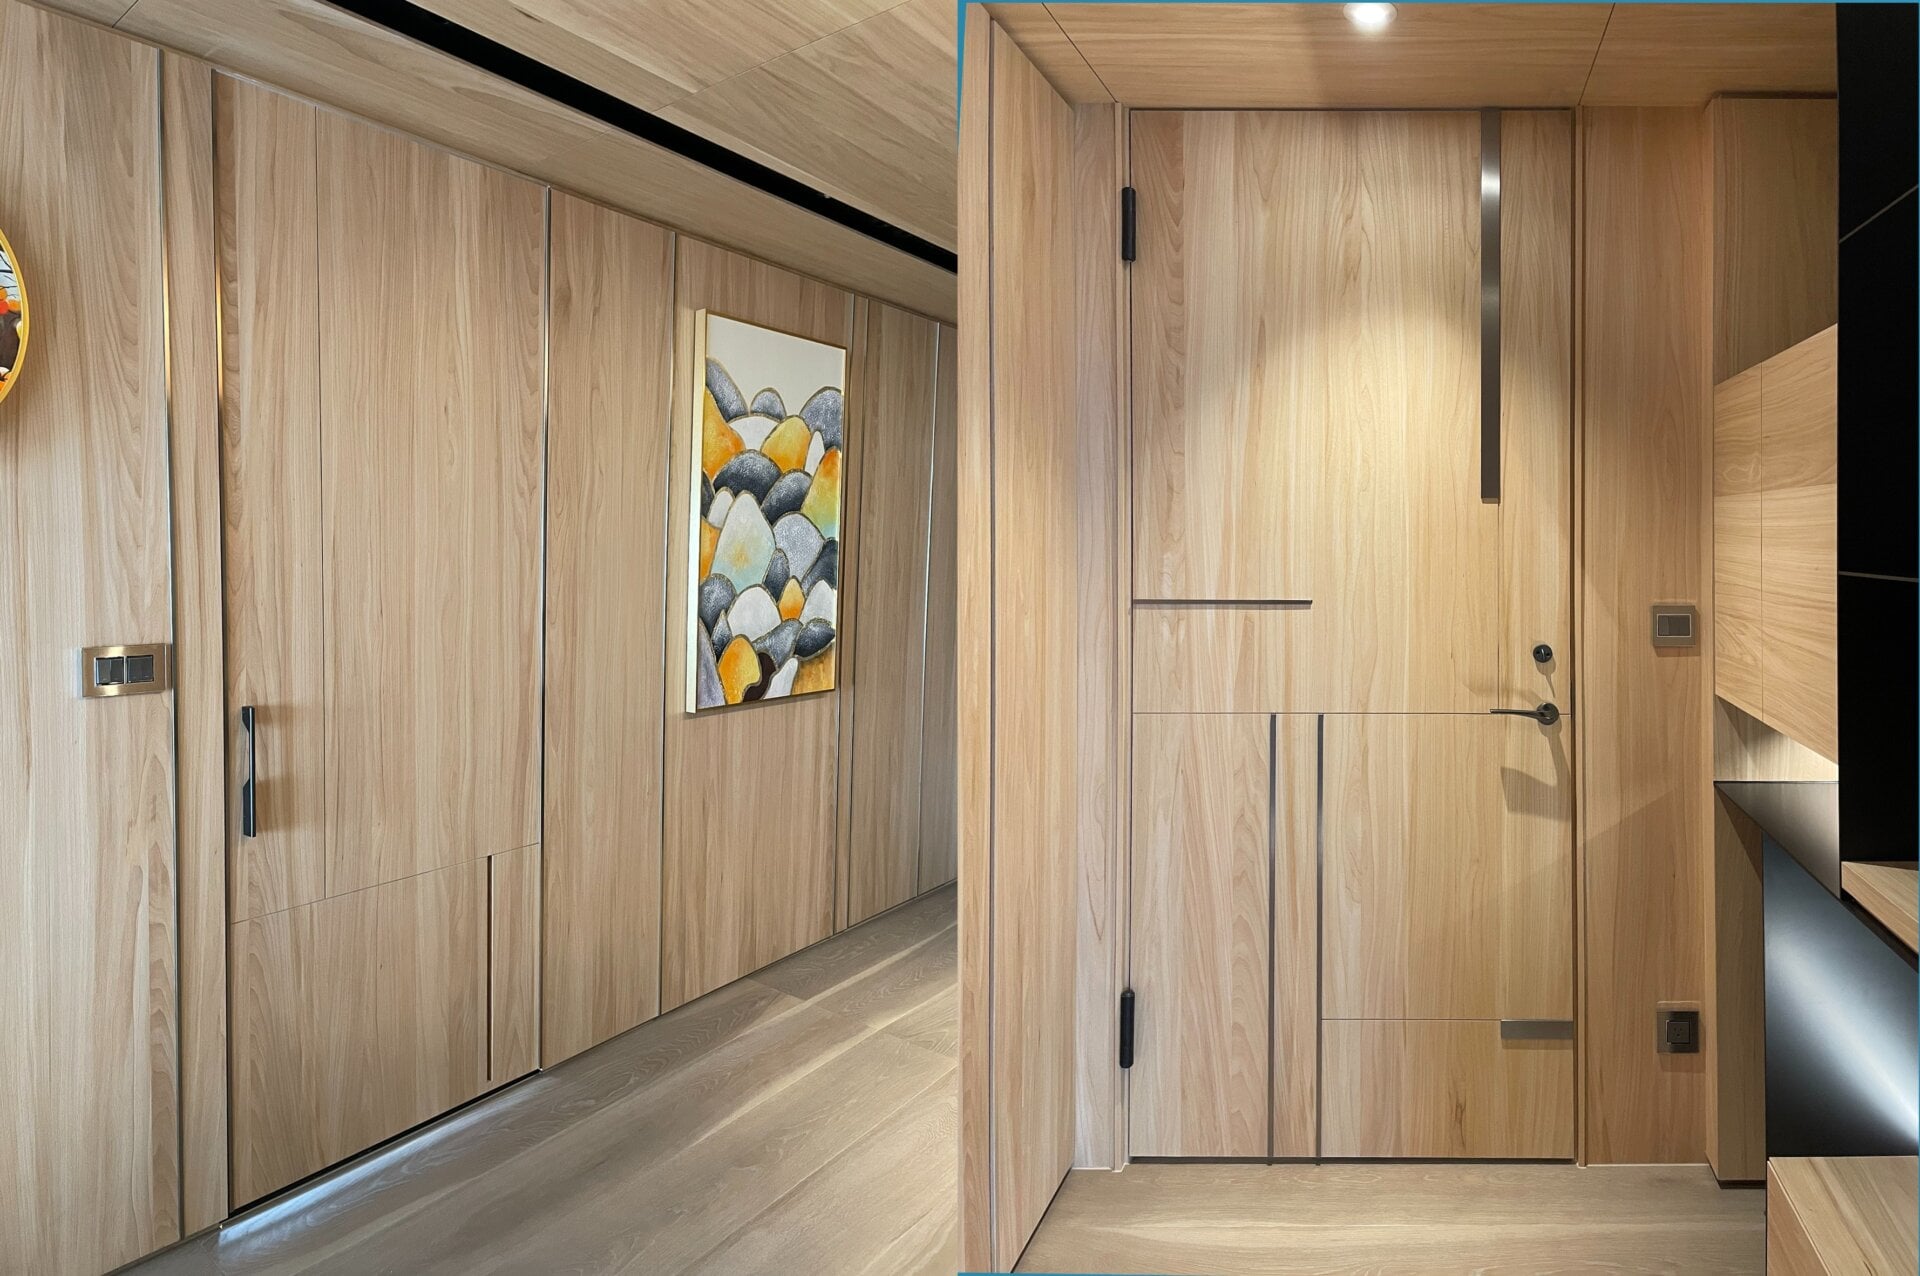
A concealed door closer is a self-closing mechanism that is built into the door, the frame, or the hinge itself, rather than mounted visibly on the surface. When the door is closed, you see nothing. No arm, no rail, no overhead hardware. Just a clean door.
That is exactly why architects and interior designers specify them. For high-end hotels, offices, and residential projects where aesthetics matter, a bulky overhead closer on every door is a problem. A concealed closer solves it.
Why Adjusting a Concealed Door Closer Is So Hard (and Yes, It Is Because It Is Concealed)
The name tells you everything. A concealed door closer is built to disappear. It lives inside the door body, inside the frame, or inside the hinge barrel itself. You do not see it. Guests do not see it. But that design choice creates a real problem the moment something needs to be adjusted.
Here is what makes it genuinely difficult:
1. The adjustment mechanism is hidden by default
On a standard overhead closer, the speed valves are on the exposed body, facing you. On a concealed unit, the adjustment screws or valves are tucked inside a recessed cavity. You often need to partially disassemble the door hardware just to reach them.
2. There is no visual feedback while adjusting
With an overhead closer, you can watch the arm move and turn the valve at the same time. With a concealed closer, you adjust something you cannot see, then close the door, wait, evaluate, reopen, adjust again. Every iteration takes twice as long.
3. Different brands use wildly different systems
Other hardware brands all use proprietary adjustment formats. There is no universal “turn clockwise to slow down” rule. One model uses a hex key in a recessed port. Another requires removing a cover plate first. If you do not have the exact manual for your exact unit, guessing can damage the internal mechanism.
4. Accessing the unit may require door removal
Some traditional concealed door closers are mortised into the door edge or the frame. Accessing the adjustment requires removing the door from its hinges, which is a two-person job on any heavy commercial door.
5. Oil-filled units are sensitive to temperature and leakage
Many concealed hydraulic closers use oil to control speed. If the oil has leaked, thickened in cold weather, or degraded over time, adjustment alone will not fix the problem. The unit may need replacement, not tuning.
Bottom line: adjusting a concealed door closer is hard because the mechanism is hidden by design, and most systems were not built with maintenance access in mind.
What Tools Do You Need to Adjust a Concealed Door Closer?
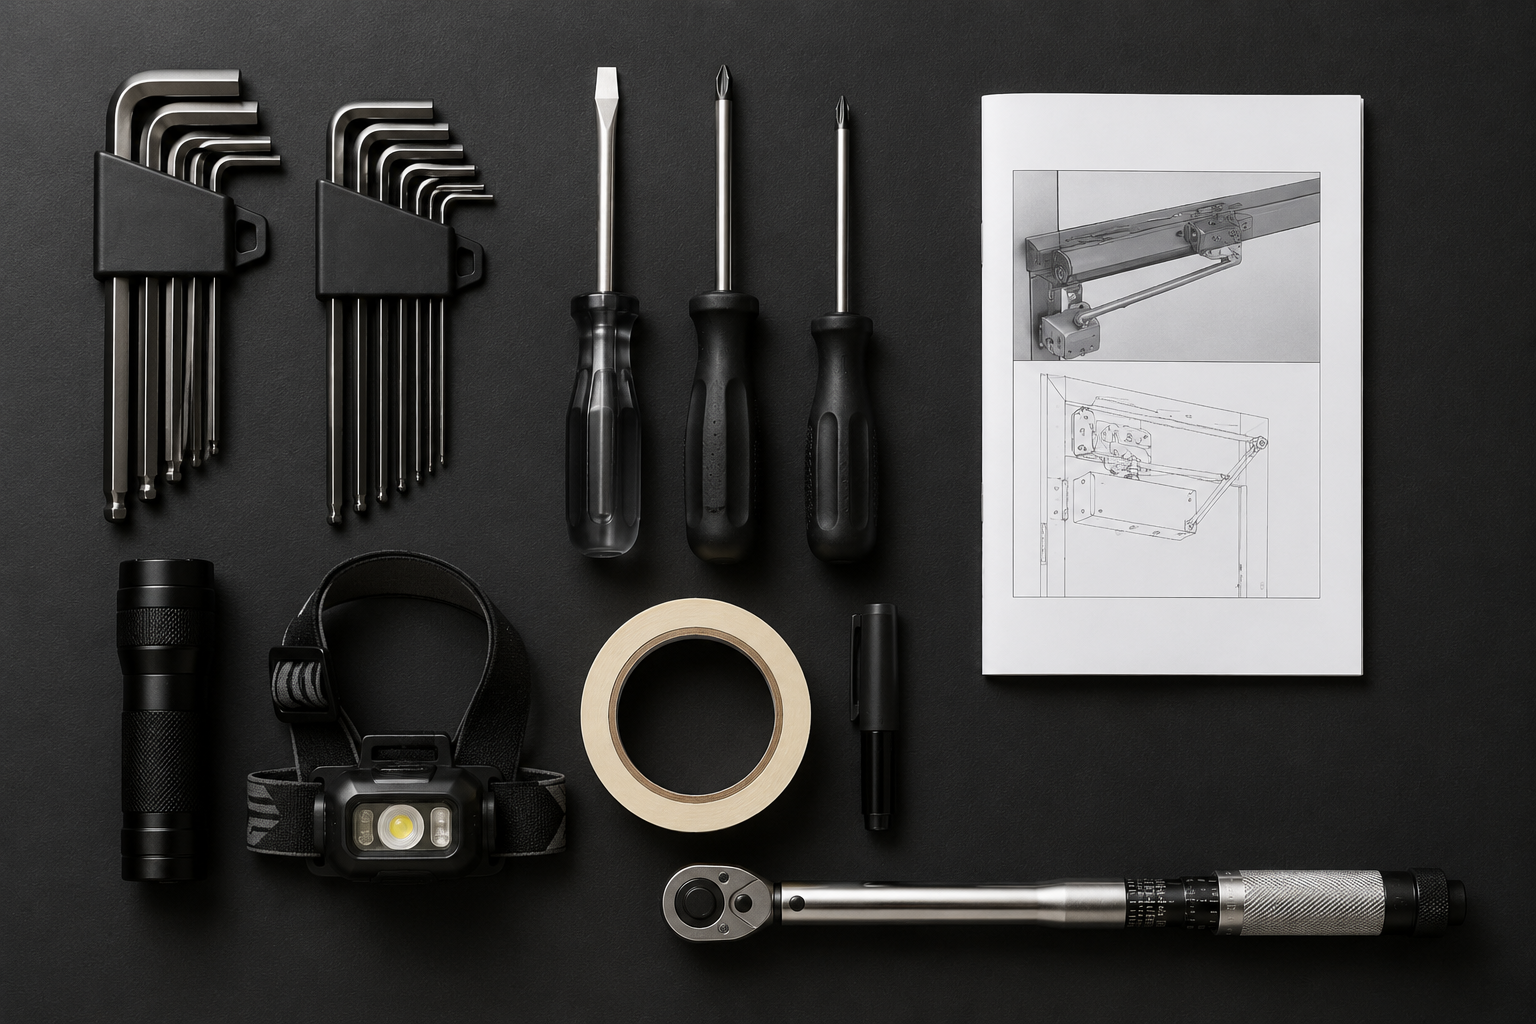
Before you start, gather the right tools. Showing up without them means disassembling the door twice.
- Allen wrench set (metric and imperial, typically 3mm and 5mm)
- Flathead screwdriver (for older cover plates and clip mechanisms)
- Phillips head screwdriver
- Door closer adjustment manual (specific to your brand and model)
- Flashlight or headlamp (the recessed adjustment ports are dark)
- Masking tape and a marker (to mark current valve positions before adjusting)
- Torque wrench (optional, but useful for spring tension adjustments)
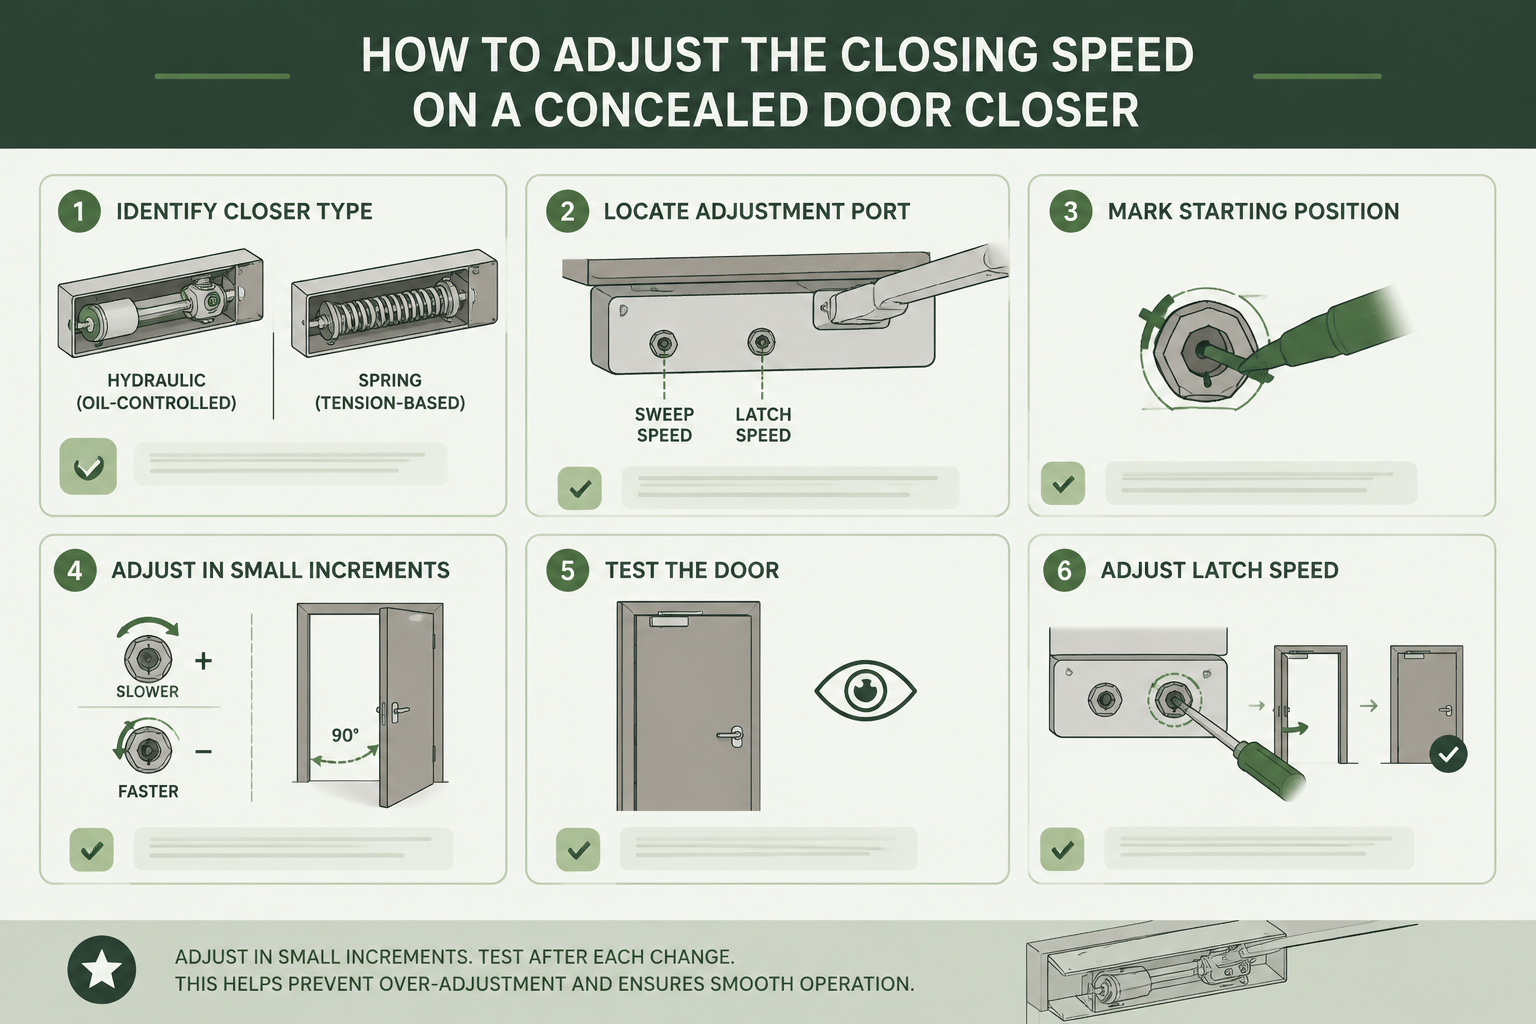
How to Adjust the Closing Speed on a Concealed Door Closer
The most common complaint is either “the door slams shut” or “the door closes too slowly and does not latch.” Both are speed problems, and the fix depends on your closer type.
Step 1: Identify your closer type
Is it a hydraulic concealed closer (oil-controlled, smooth and quiet)? Or a mechanical spring concealed closer (tension-based, no fluid)? The adjustment method is completely different for each.
Step 2: Locate the adjustment port
Check your manual. Most hydraulic concealed closers have one or two adjustment valves:
- Sweep speed valve: Controls how fast the door moves from fully open down to about 10-15 degrees.
- Latch speed valve: Controls the final closing motion from 20 to 0 degrees to fully shut.
These are typically small hex ports, sometimes covered by a plastic cap or metal plate.
Step 3: Mark your starting position
Before touching anything, use a marker to note where the valve currently sits. This gives you a reference point to return to if something goes wrong.
Step 4: Adjust in small increments
Turn the sweep speed valve clockwise to slow the closing speed, counterclockwise to speed it up. But here is the critical rule: never jump more than one full turn at a time. On spring-based systems especially, sudden large adjustments can overload the internal mechanism.
Test the door after each quarter-turn. Open the door fully to 90 degrees, release it, and observe the entire closing arc.
Step 5: Adjust latch speed separately
Once sweep speed feels right, fine-tune the latch valve so the door pulls fully shut without bouncing or slamming in the last few inches.
If all of this sounds like too much work for a closer that was supposed to make your door look cleaner, you are not wrong. What if there was a concealed option that handled self-closing, soft-close, and ADA compliance, and you could adjust it in minutes with two hex keys?
A Better Approach: Why Waterson Concealed Closer Hinges Are Easier to Adjust
Traditional concealed door closers were designed for aesthetics first, and serviceability second. That tradeoff explains most of the frustration above.
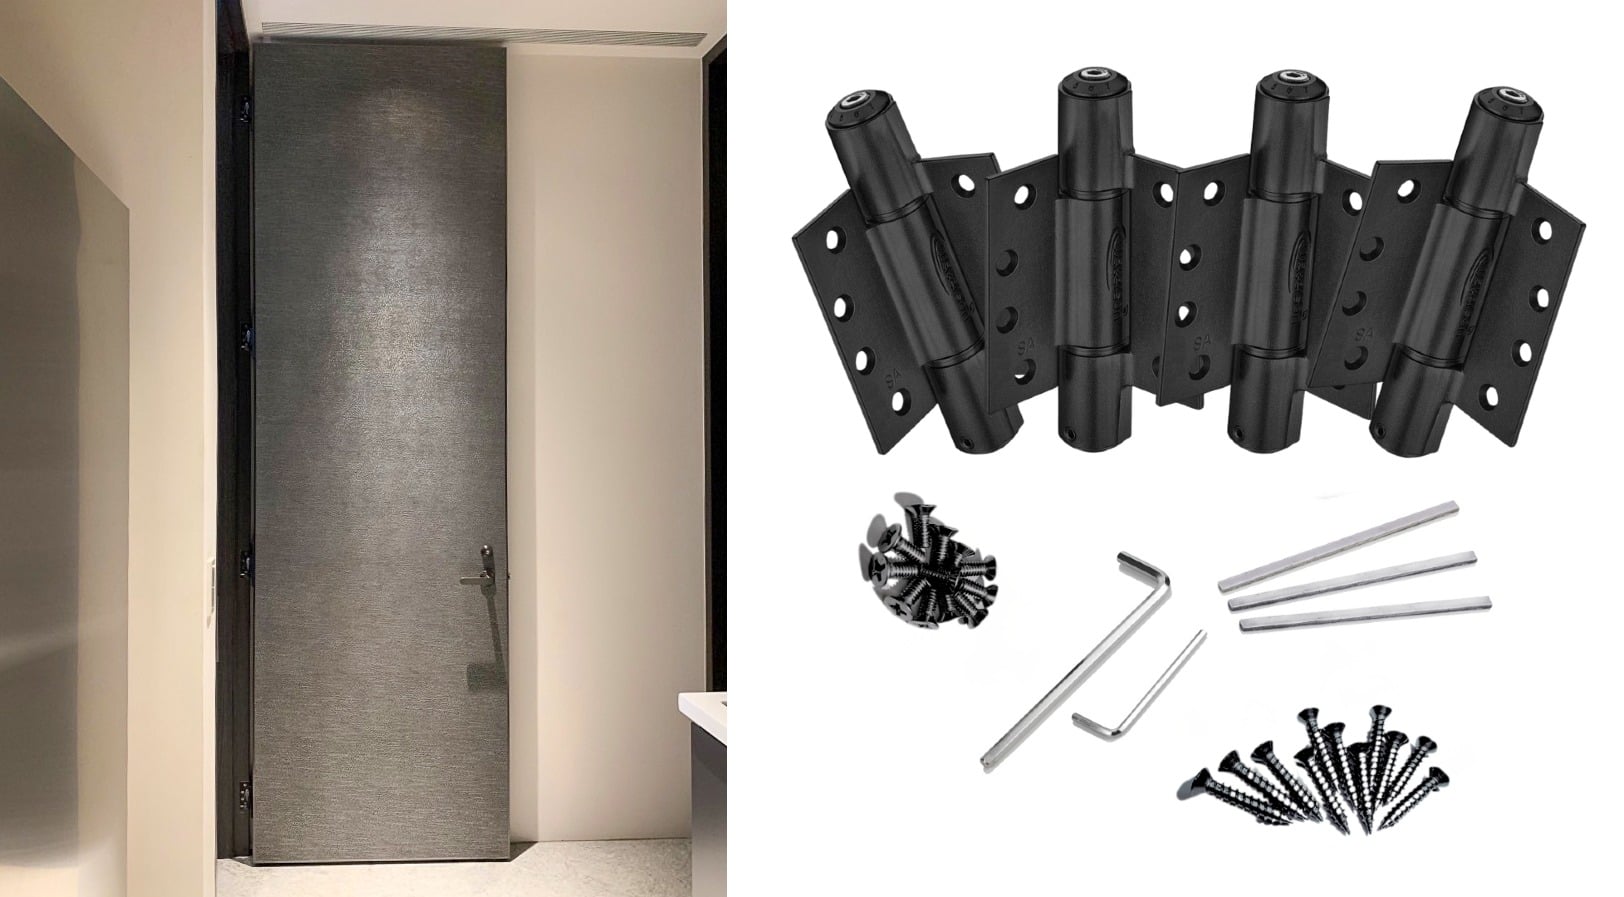
Waterson closer hinges take a different approach. The closing mechanism is built directly into the hinge barrel, which sits at the door edge as a standard mortise installation. That means no hollowing the door body, no hidden cavities inside the frame, and no removing the door to reach the adjustment.
Adjustment requires two allen wrenches and takes a few minutes. No disassembly. No guessing.
Key features that make Waterson hinges easier to maintain and adjust:
- Accessible Adjustment: Tension, swing speed, and latch speed are all adjustable from the outside of the hinge barrel with standard hex keys included with the product.
- Soft Closing: Oil-controlled hydraulic braking prevents slamming without requiring frequent recalibration.
- Anti Slam Buffering: Separate latch speed control provides a cushioned final close.
- ADA Compliant: Adjustable to meet ADA and ICC A117.1 requirements (5 lbs opening force, 5-second closing speed from 90 to 12 degrees).
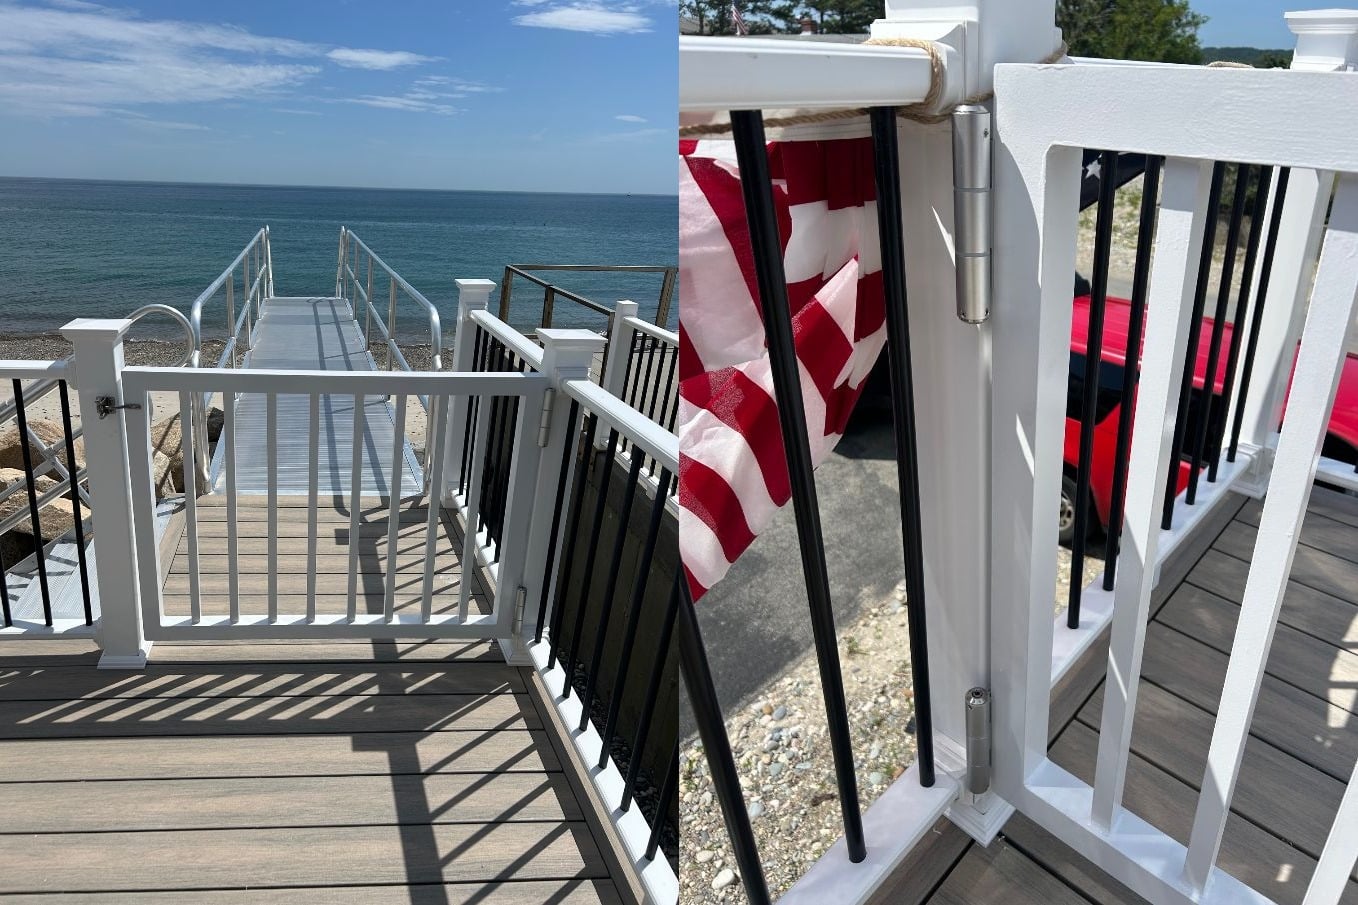
- Stainless Steel: Grade 304 or 316 SST resists corrosion and oil degradation in exterior applications.
- UL 3-Hour Fire Rated: Compatible with 3 HR-rated fire doors, unlike most traditional concealed closers.
- Warranty: 10 years mechanical, 3 years hydraulic.
- No Special Machining Required: Standard hinge template installation eliminates the costly door prep that traditional concealed closers require.
Unlike traditional concealed closers that require door removal or specialized tools to access, Waterson hinges keep all adjustment points at the hinge barrel edge, making routine calibration a straightforward task for facility managers and installers alike.
How to Adjust Waterson Self Closing Concealed Spring Door Closer?
Waterson hinges are adjustable with just two hex wrenches, a 3mm and a 5mm, both included in the box. No disassembly, no door removal. Here is the core process.
Before you start: Make sure the door swings freely and latches on its own. All hinges ship in the (N) factory setting, which means tension is disengaged.
Step 1: Set the spring tension (S). Use the 5mm hex wrench on the numerical tension panel. Increase tension one number at a time, starting from N, then 0, 1, 2, and so on. Stop when the door closes and latches cleanly from 20 degrees. Do not jump settings. Going from N directly to 7 will break the hinge and void the warranty.
Step 2: Adjust swing speed (A). Swing speed controls how fast the door moves through the main arc. Use the 5mm wrench on the SA hinge (middle position). Turn (+) for faster, turn (-) for slower. Adjust gradually, one small change at a time.
Step 3: Adjust latch speed (A1). Latch speed controls the final pull-to-close motion. Use the 5mm wrench on the SA1 hinge (bottom position). Always adjust swing speed first, then latch speed. This sequence prevents slamming.
Step 4: Lock it in. Once you are satisfied, tighten the speed lock-in screws with the 3mm wrench. Each hinge has two lock-in screws. Tighten at least one.
Quick troubleshooting reference:
| Problem | Fix |
|---|---|
| Door slams | Decrease swing speed, latch speed, or tension |
| Door does not latch | Increase swing speed, latch speed, or tension |
| Hold open not working | Adjust the SB hinge hold-open hex nut |
| Hydraulic not engaging | Enable hydraulic damper on HA hinge first, then adjust in 1/4 turns |
Frequently Asked Questions about Self Closing Concealed Door Hinges
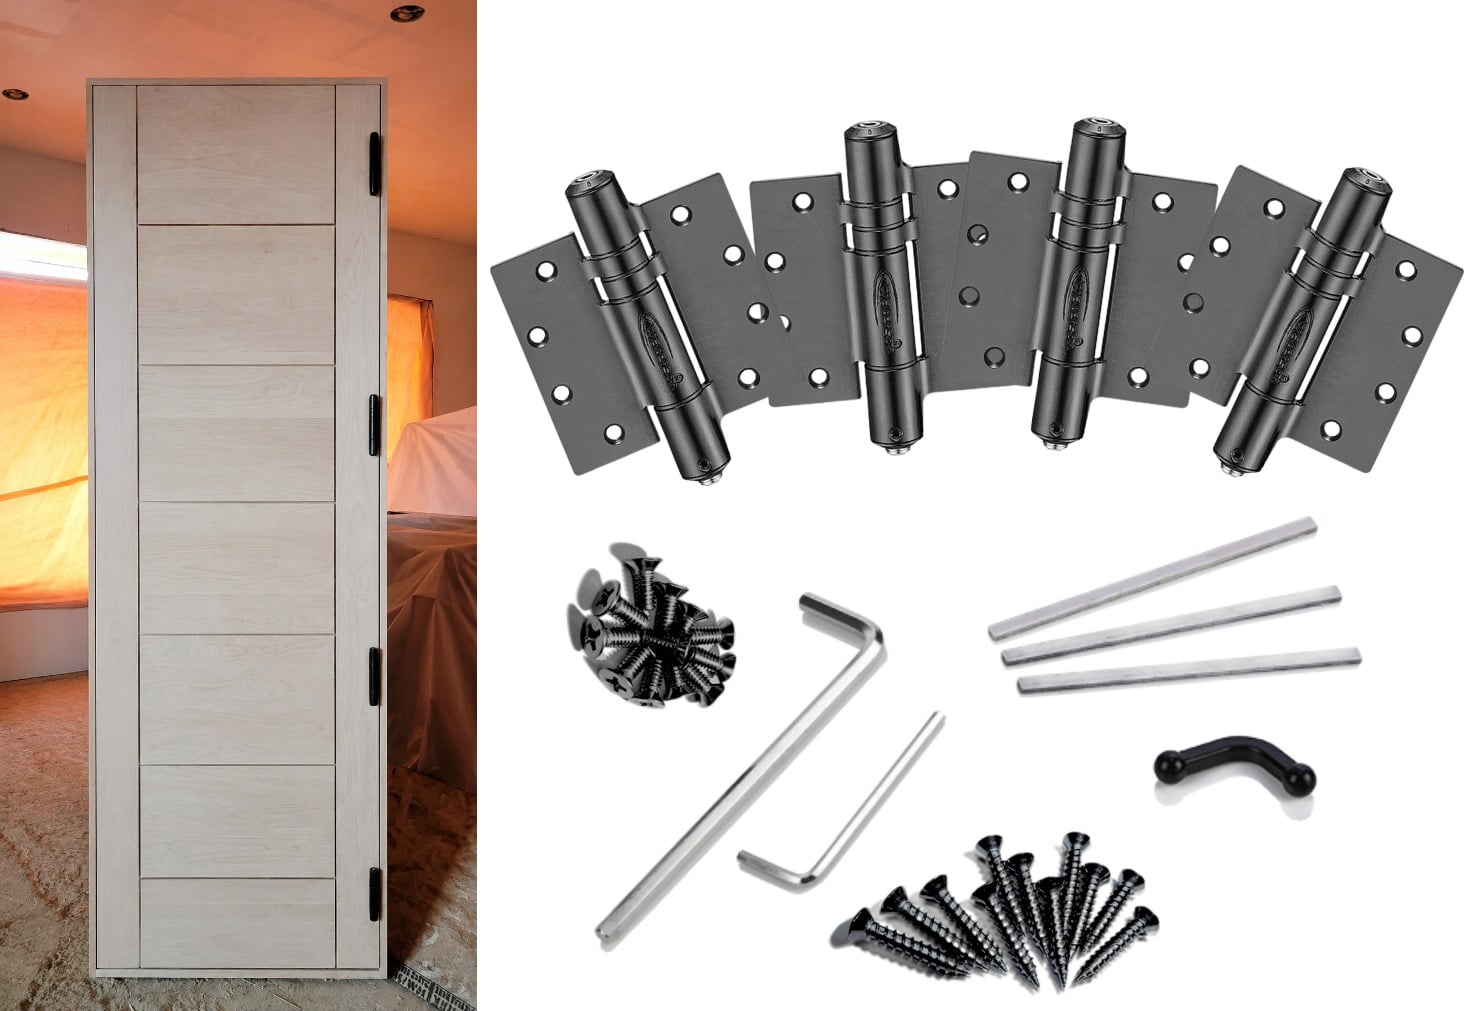
Waterson Stainless Steel Self Closing Concealed Door Hinges
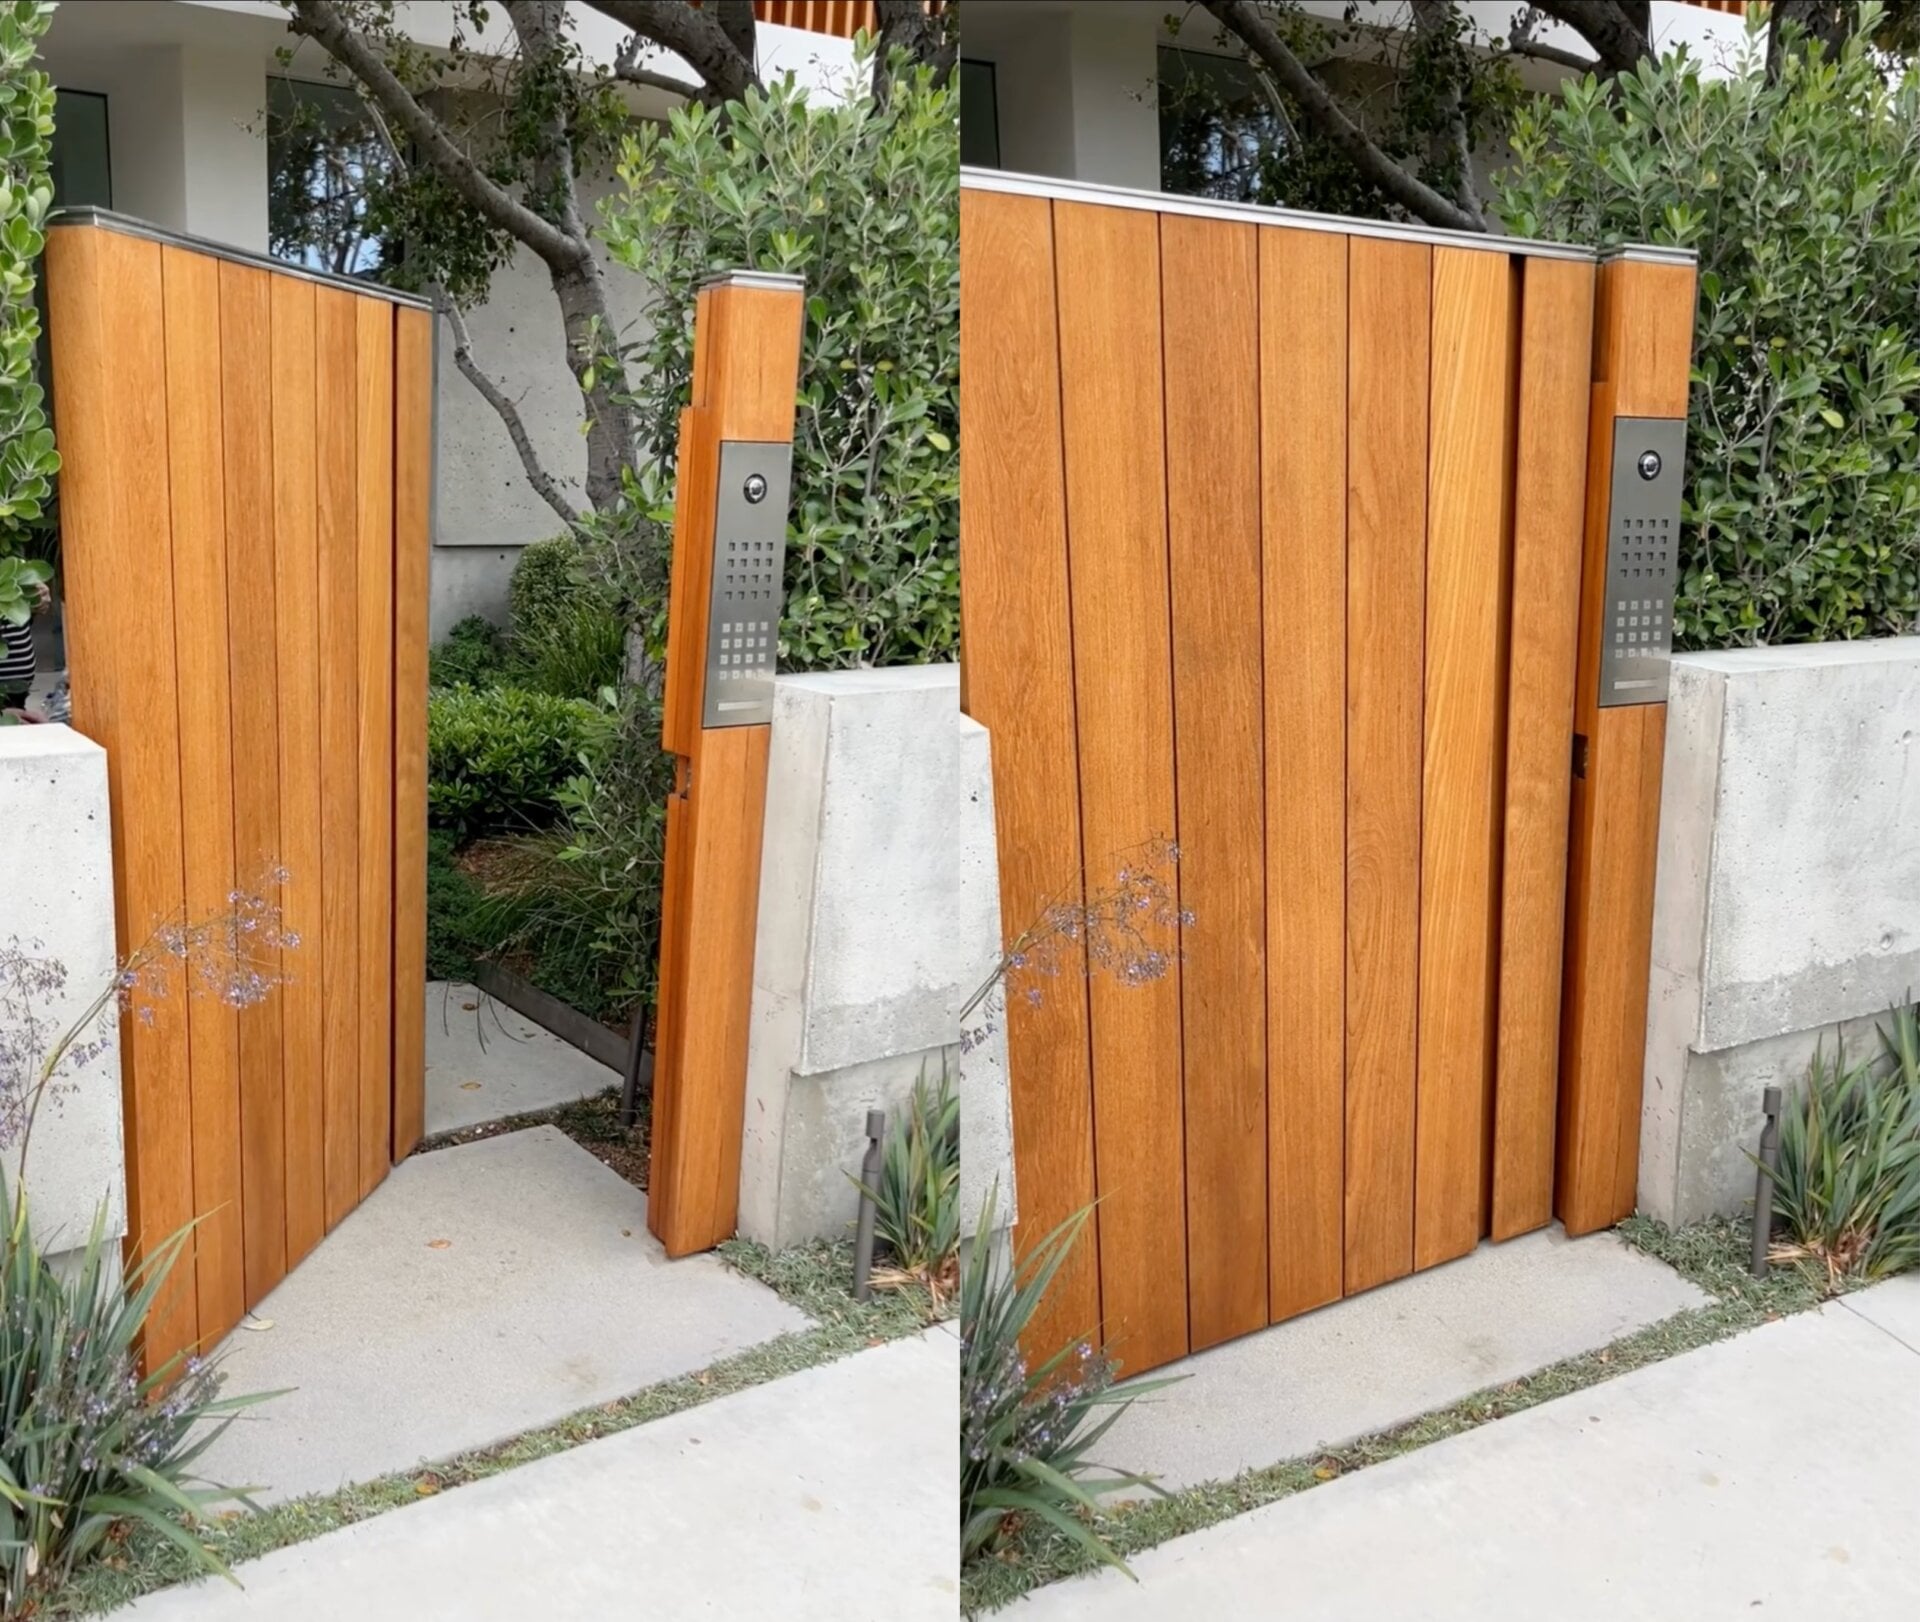
Waterson Concealed Self Closing Door Hinge combine the function of an overhead closer and a hinge into a single, sleek component—complete with optional hold-open and door-stop features. Designed for commercial openings, gates, and glass doors, these hinges are easy to install and adjust to meet ADA and ICC A117.1 standards for opening force, while ensuring quiet and secure closure. Crafted from durable stainless steel, they are NFPA 80 compliant, UL 3-hour fire-rated, and built to perform reliably in both interior and all-weather exterior environments. See all our features.
In addition to these performance advantages, Waterson offers flexible customization services. As a direct manufacturer, we can tailor hinge sizes, finishes, and especially hinge leaf designs to meet the specific structural needs of your doors. This makes our hinges an ideal solution for door manufacturers seeking custom options that integrate seamlessly with their existing frames.
Request For Information
Please note that Waterson closer hinges start from a size of 4″x4″. If you’re in need of smaller self-closing hinges, we’d recommend checking out some other resources! Also, we only provide single acting closer hinges. Thank you.
Recent Post
Custom Self Closing Hinges for Prehung Door Manufacturers
A prehung door is sold as a finished, ready-to-hang unit, yet its hinges are usually the one part left builder-grade. The moment a buyer asks [...]
Can Self Closing Gate Hinges Work When the Hinges Sit Only at the Bottom
Most commercial self-closing hinges still adopt either spring or hydraulic damper for [...]
Which Is the Best Self Closing Gate Hinge in Florida for a Pool & Coastal Gate
Most commercial self-closing hinges still adopt either spring or hydraulic damper for [...]